 (Photo courtesy of Majacraft)
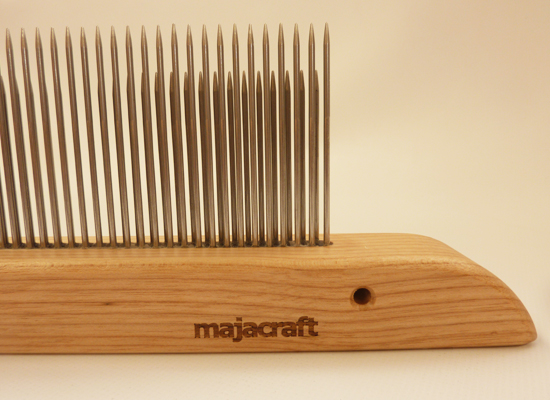
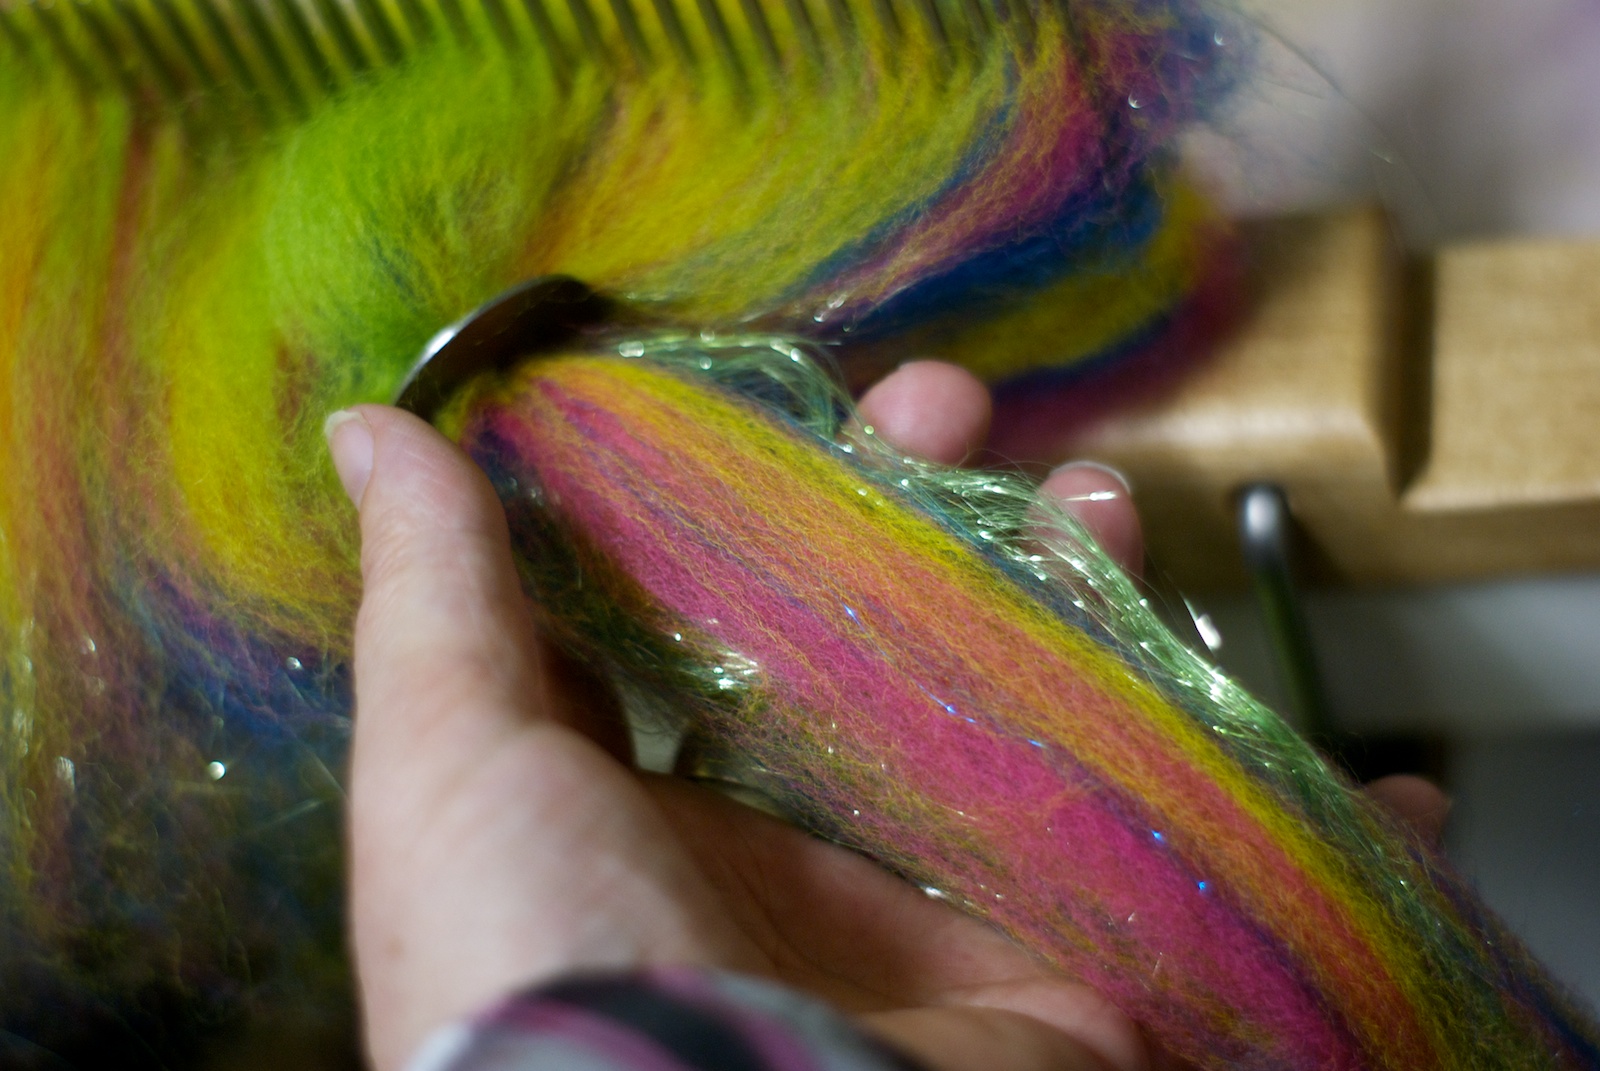
This week we are bringing a new course announcement (you’ll have to read to the end!!) and we are bringing you the first of our tool features, because, in fiberista language, ‘tool’ = ‘toy’…right? So to start us off I am impelled to go straight to the Hackle, because it is my favourite. Nope, not because it’s cute or cuddly (it’s not), nor because it’s elegant or graceful, but purely because of what I can do with it, I am utterly in love with the results I can get by lashing those sharp pointy tines with fiber and sparkle, and pulling them back off through the hole in my diz..
It sounds a bit brutal. Not the loving preparation of the softest locks that we might like to imagine, or the gentle handling of the smoothest silks, nor the dainty delicacy of blending Angelina into these luxurious lengths of fibery goodness.
Even the term used for loading the fiber onto this medieval torture device.. ‘lashing’.. I mean.. seriously?
Ok, so in my head I can get past this little hiccup of unfortunate fiber horror, and all because of the total deliciousness of the end result. I can recklessly lash my fiber on the spikes and pull it ruthlessly through the diz because this… is what it looks like when its done:
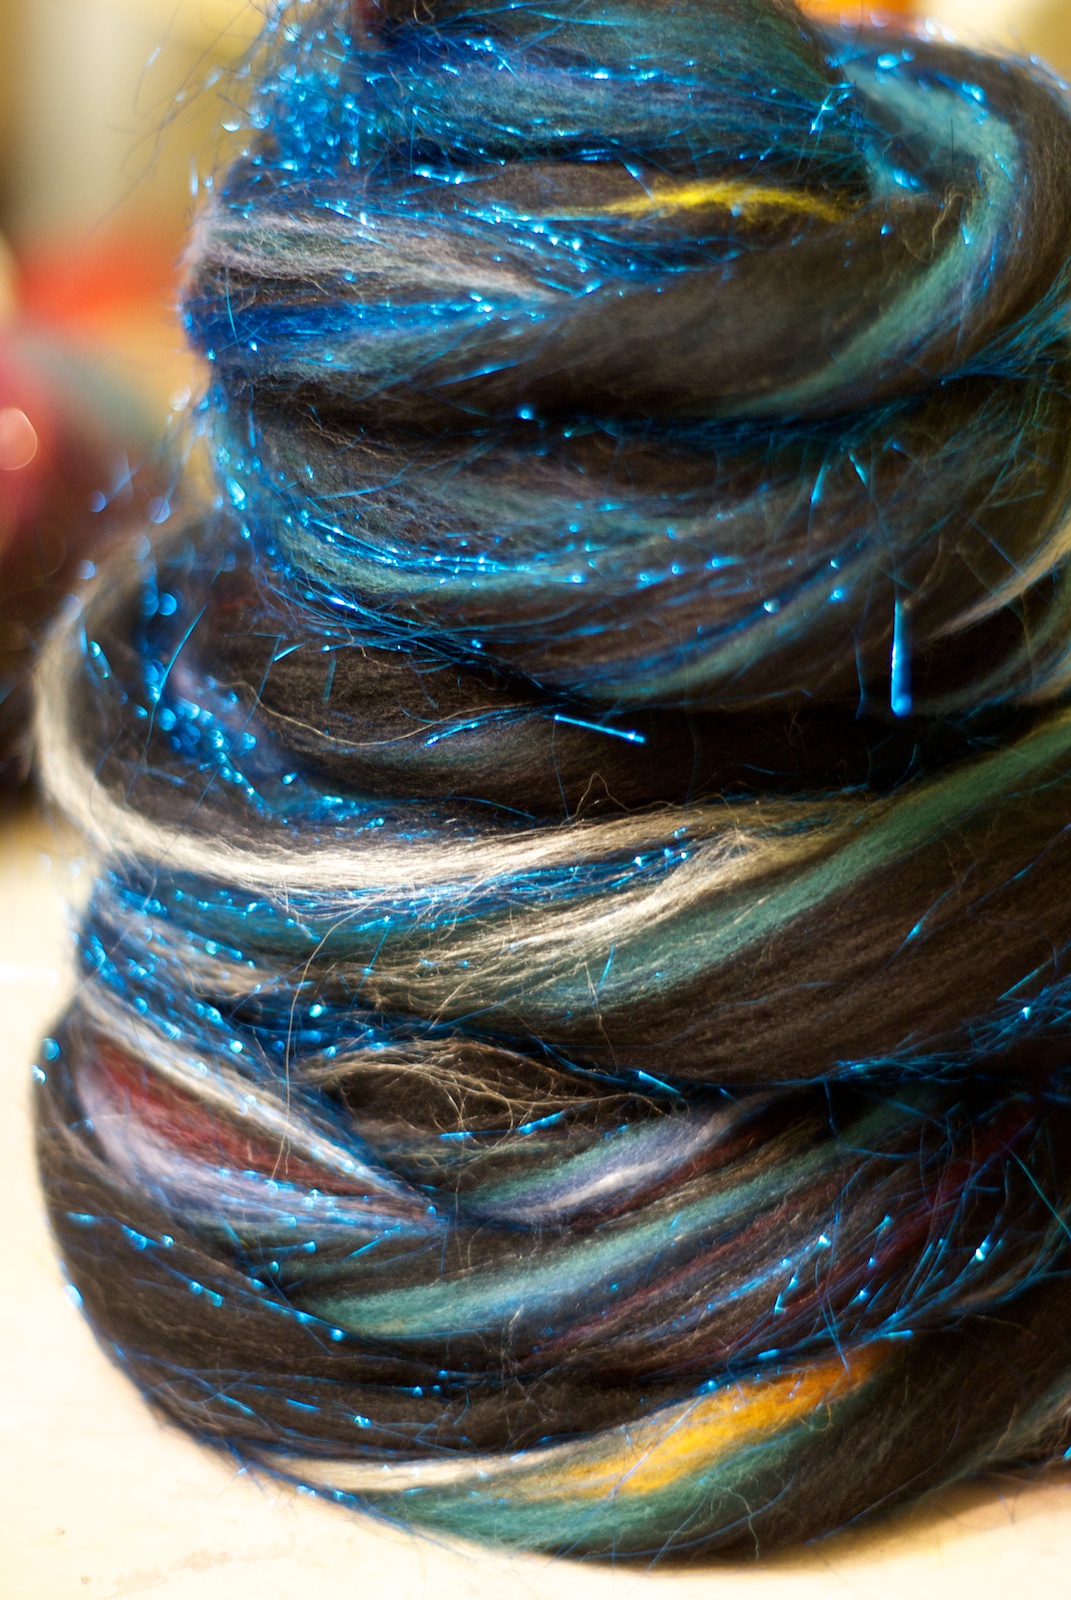
and this;
What I love about making my own roving is that I have total control over how the colours are going to work in it, the amount of each colour I am going to use, the proportions, and their placement in the roving. These are all things I consider before I start using my hackle.
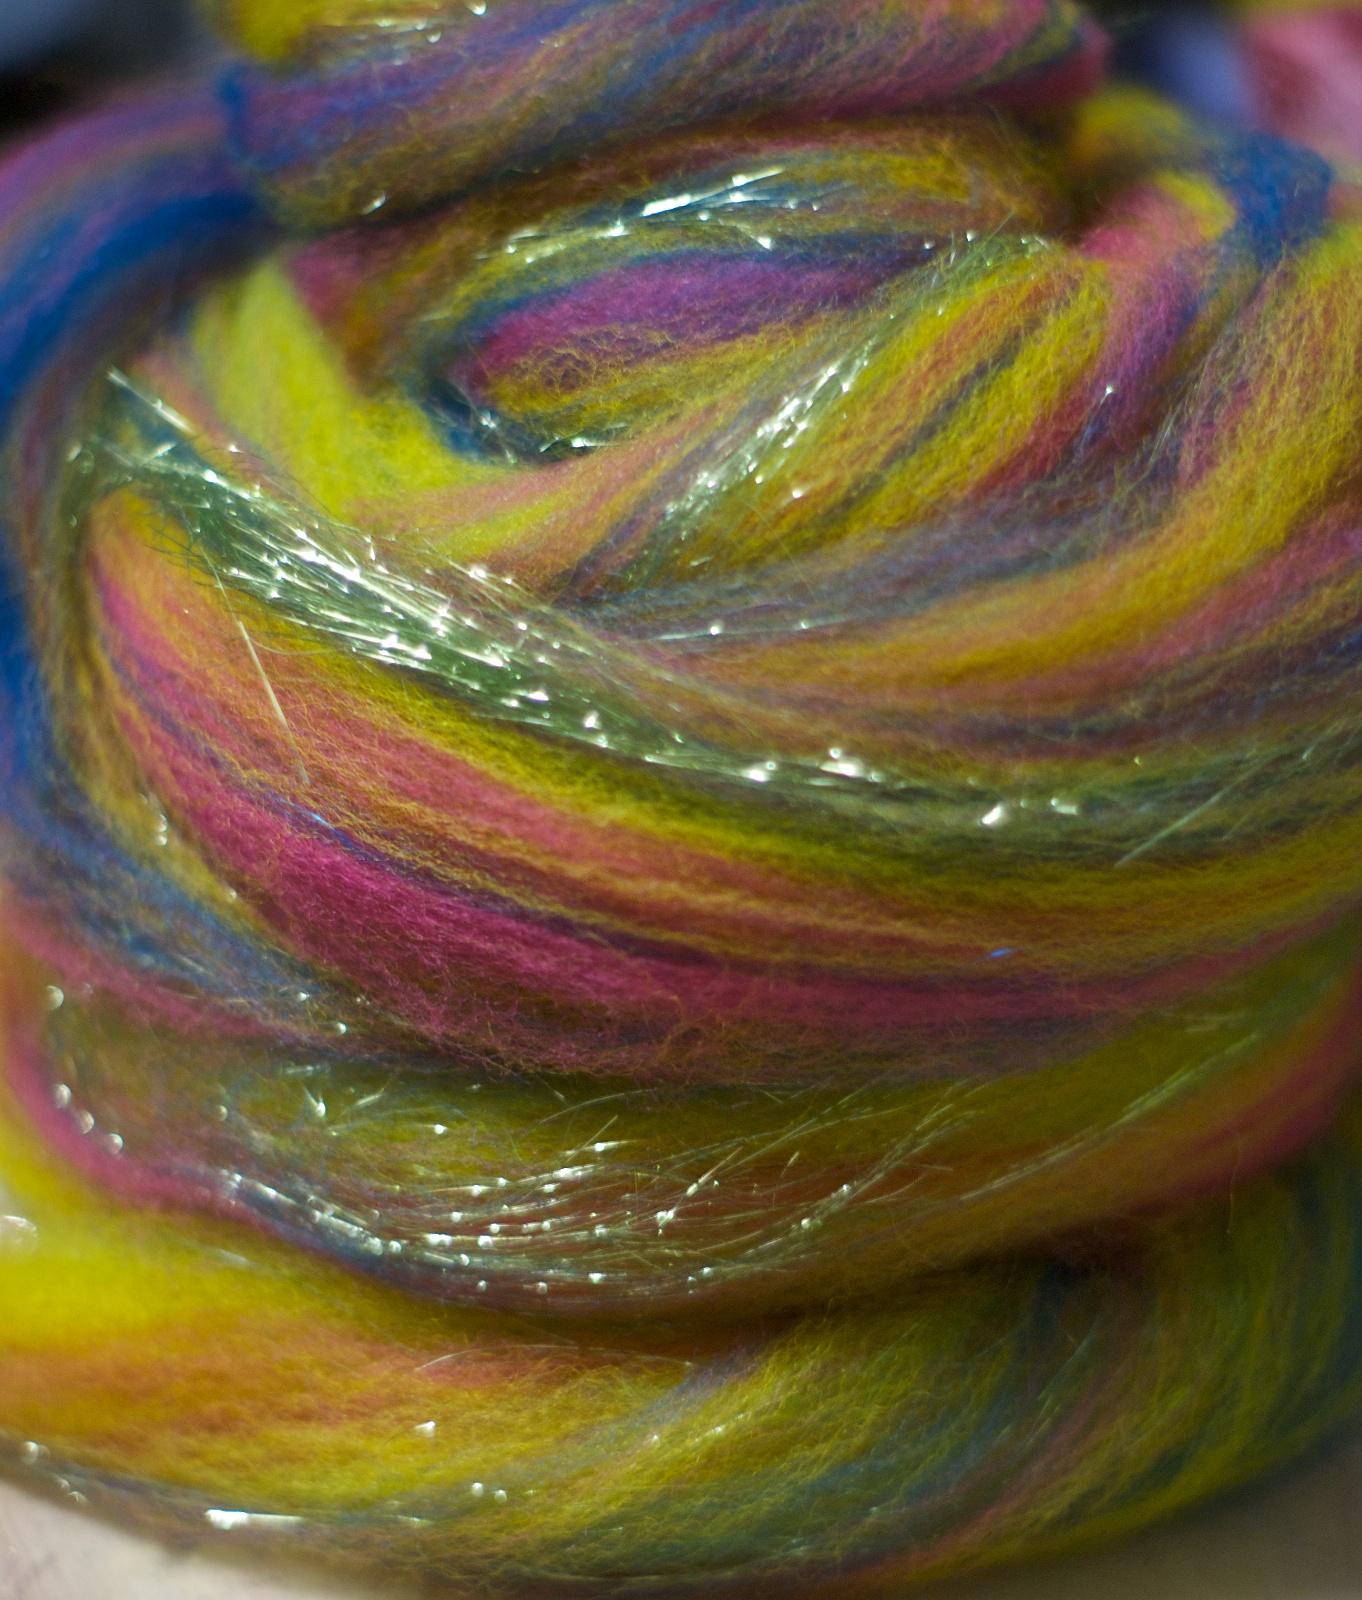
There are at least two different ways to build up layers of colour on a hackle, each creates a different effect in the resulting roving. I can either add layers onto the hackle horizontally, across the width of the hackle, or I can build them up vertically, stacking the colour into pillars of colour. When I layer the colour horizontally across the width of the hackle, then diz it off, there will be stripes running all the way through the roving, along the length of it.
When I stack my colours vertically I can create a roving where the colours come
and go, rather than run consistently through the roving, so you can see blocks of colour in both the roving and the yarn spun from it.
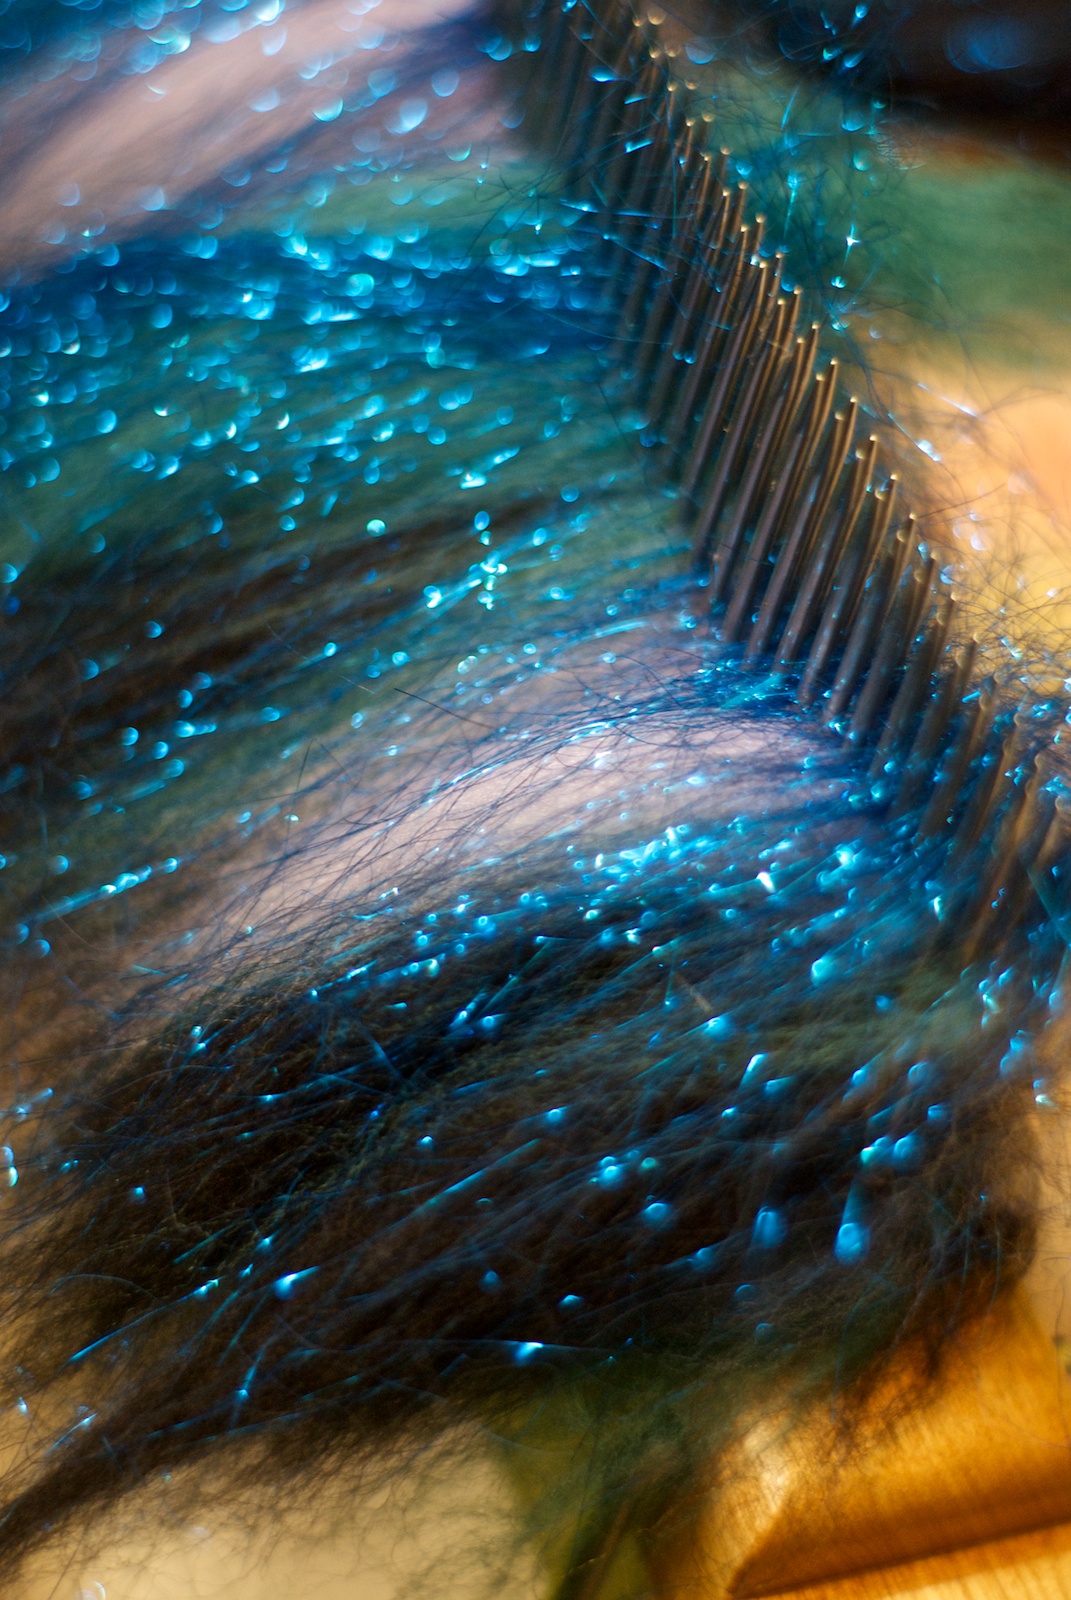
Probably the toughest part of making hackled roving, is taking it off the hackle through the diz. This bit takes a lot more practice than all that lashing. It’s a bit like spinning, you need to find your rhythm, drafting the fibers gently left to right through the diz to make a smooth roving.
The result is amazing, it’s eye candy, it’s the softest lightest preparation, it is amazing to spin from and perfect for spinning either smooth worsted singles or wrapping around a core (my favourite way to spin it) to create a smooth defined yarn, one that makes the most of the stunning stripes and bling additions.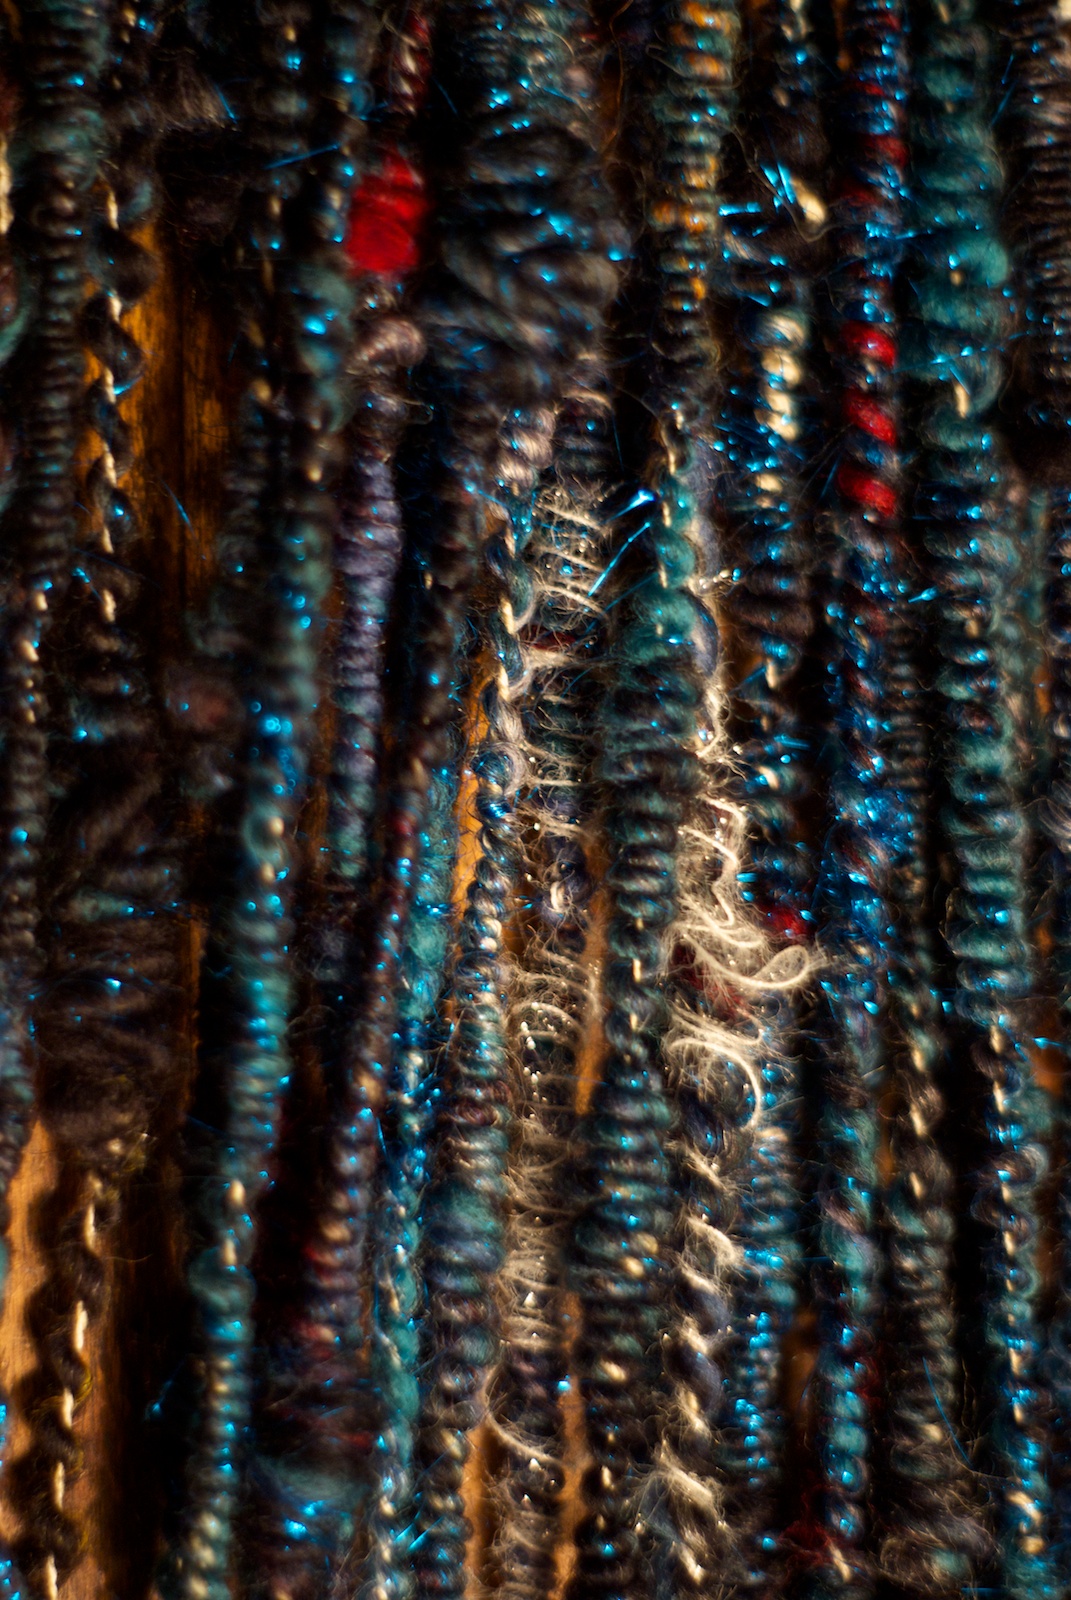
New Course:
This has been a very brief review of the possibilities that come with a hackle and diz, I am quite certain I could fill an entire chapter with just this kind of fiber preparation, in fact, I DID 😉 I first wrote the ‘Blending Colour” ebook that is currently for sale in our shop , and now, I can announce that the next course coming to FiberyGoodness.com is nearly ready, we have re-written this wonderful DIY resource into a full
Colour Blending Course!
The book has been partially rewritten to include a series of exercises that guide the learner through the steps needed to blend new shades, tones, and colours, working from the basis of the three primary colours. The end result for students will be the comprehensive resource ‘colour recipe’ collection that will be built using, and as an extention of, the exercises in the course, AND the best bit? It comes with its own fiber kit for students to work with!
For those who have already purchased the Ebook we have an ‘Exercise Supplement’ and Fiber Kits for a special price, so no one need miss out.]
Watch this space for more information on the new Course, the release date, and a continuation in our series of tool features. In the meantime, here is my hackle blending video to get you in the mood for some serious lashing!
Suzy
Hi Suzy, I was thinking of getting a blending board but sounds like a hackle is the thing–I never really knew how to use it and just thought it was a big kind of comb. So the hackle with a diz is more versatile than a blending board or a blending board is just for rolags? I definitely need to learn more about the tools of the trade
thanks, very interesting
Randi
Hi Randi! Well the hackle and the blending board really make two different kinds of preparations, the hackle produces a smoother combed style of fiber, while the blending board gives you a more carded preparation where the fibers are all laying in different directions, so the yarn you can spin from them is also going to be a bit different. I think it is hard to choose between them, but if you are thinking of one or the other, maybe consider what kinds of yarns you like to spin best, if you like the smoother finer yarns then the hackle is brilliant for making wonderful colour effects, if you prefer more textured expressive yarns then the blending board could be more interesting for you. I think our next tool feature will be the blending board, I will try to add in some tool comparisons!
Suzy, are the hackles available in the US. I’m not having a lot of luck finding them.
And, when/where do I sign up to be in the new course? Don’t want to miss it!
Bobbi
Hi Bobbi, yes they are! I use the Majacraft one because I love the quality of it and its great to use, there are other brands also available in the US that you might want to check out too (try Etsy!) For the Majacraft one like I use, you can find a US dealer via their website http://www.majacraft.co.nz and then check their dealers list. Regarding the new course, we have a few things to get ready on the website and to prepare the fiber kits and then we will announce the start date!
After watching this video this morning, I ran out and bought one from my fibre shop. They also have an online shop and ship to the US from Canada. It’s called the Fibre Garden—here’s the link http://www.fibregarden.ca/. I also want to sign up for the course.
It is funny how you are all about controlling the colors and how you want it to look like… and I love your work!!! (admire!!!) but I don’t want to control it at all 😛 (ok…. just a bit) loool I always wanted a hackle and that makes me want one even more <3
Maybe Majacraft can make a kit with a hackle?? (yeap! I am a good in marketing, and for you and for me loool) That will be great to know, otherwise I should be ordering one (…until it can come over here :P)
I do have a blending board, but a hackle…? you are correct: tool= toy! and even better, a torture one 😛
Kisses
Question: I am using only washed wool here, no roving- would a hackle work well for incorporating the angelina into the locks? Can’t do it so much on the carder….
love what your doing on the Dynamic Heddle, as well!
Hi Teri! The only problem using locks in the hackle is they might try to block up the diz a bit as you are making your roving, its best if they are opened up, maybe you could flick card them first to loosen them up and spread out the fibers.
Pingback:Diz: A Turned Fiber Tool Project - Turning for Profit
Pingback:Diz: A Turned Fiber Tool Project | Turning for Profit