
We have an update for you from our spinning apprentice, Francoise Danoy. Over the last couple of months we have been meeting with Francoise every two weeks to review her spinning and sharing our knowledge . We have been amazed at how quickly she has picked up and run with all our tips and tricks! Here is her latest report!
—————————
A few months ago, I was approached by Suzy of tinyStudio to be their recipient of their Artist in Residence program for new spinners. I had just started my journey into spinning in November of last year – first starting on the drop spindle, then quickly moving onto working on an E-Spinner (my first model was an Ashford E3 spinner). This program is sponsored by Daedelus Spinners, a company based in the US that 3-D prints their E-Spinners and assembles them lovingly by hand.
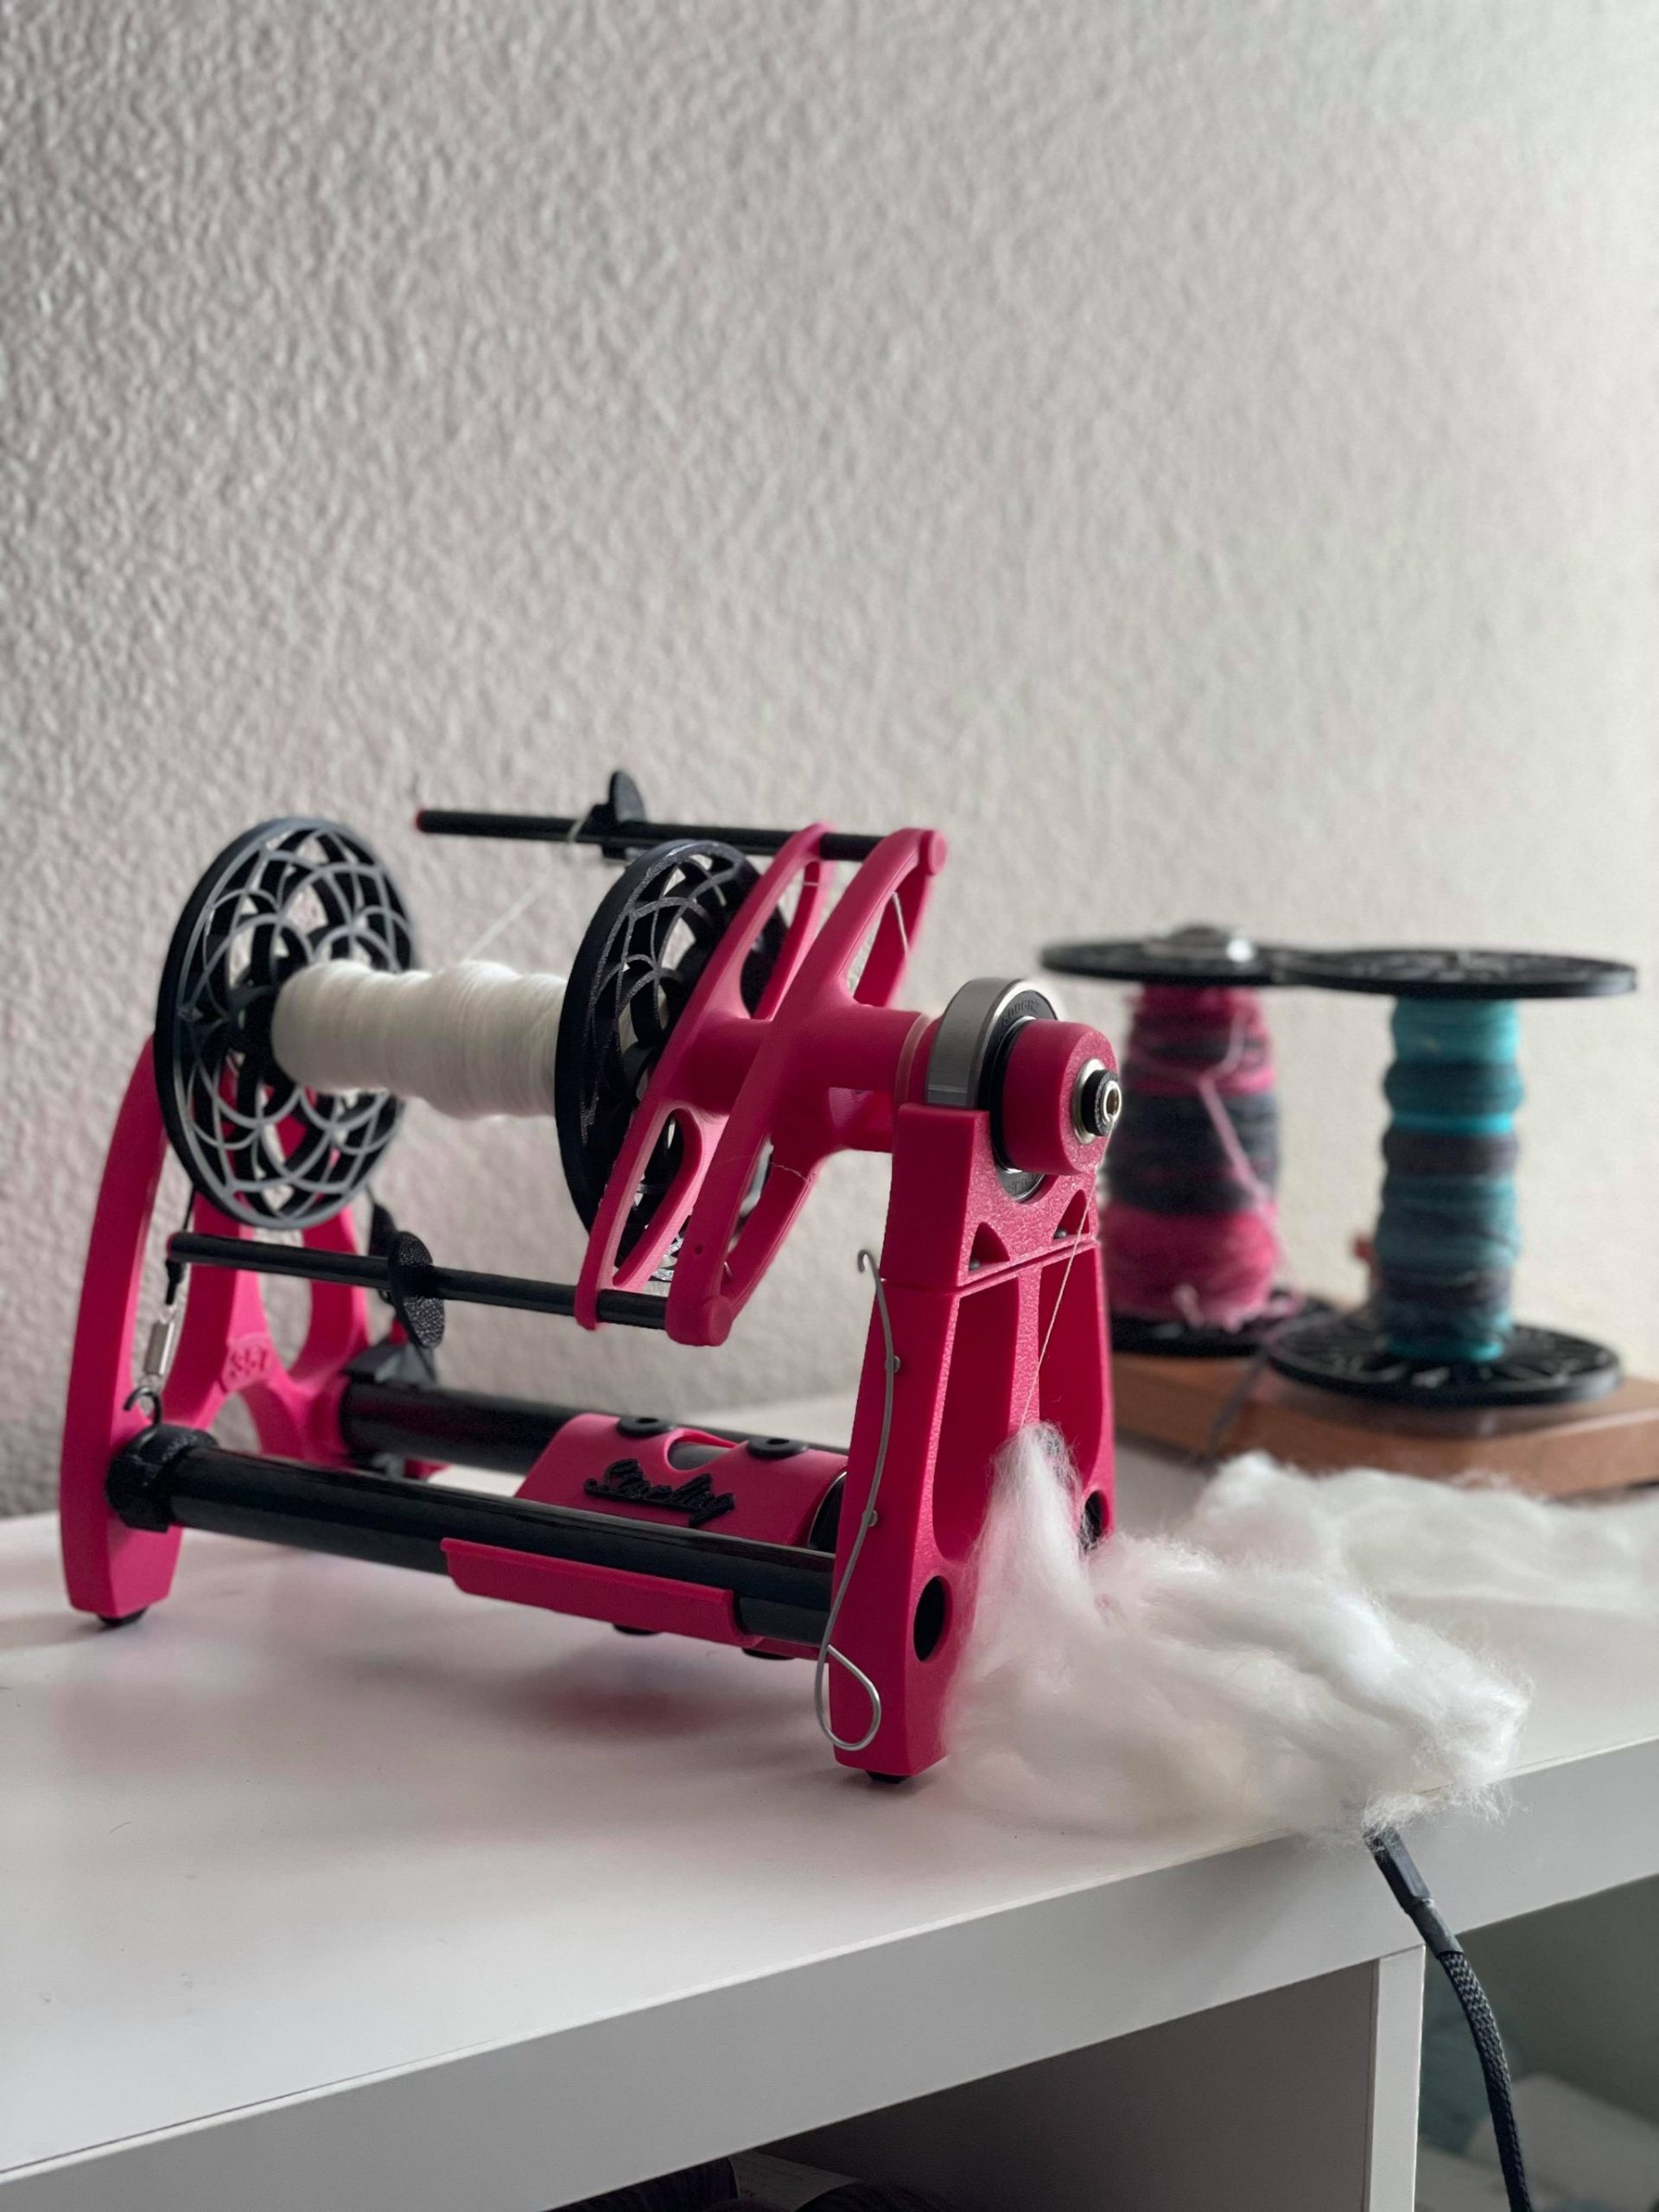
I was sent their Starling model in a pink and black colorway, named Rosie. I was quite in love with my Ashford spinner (who unfortunately did not have a name) and found that it worked perfectly for my needs, but I found the nuances in Rosie’s build really created a huge difference in my spinning experience; most notably in adjusting tension and being able to see the bobbin build up. Tension plays a vital role in spinning, and on my Ashford spinner I found the mechanism to adjust the tension to be quite stiff and inelegant. On the Starling, adjusting the tension is as easy as moving wheels back and forth – making macro and micro changes to tension were easy!
A nice touch from the 3-D printing is that both the bobbins and the wheel are see-through, instead of solid wood. This allows me to see how and where my yarn are spinning up and if I need to adjust the guides on the side.
The Starling is also very quiet and light. I don’t need to oil any hinges. Everything fits together like a glove, creating a truly wonderful spinning experience. Again, I love my Ashford E-Spinner, but the care and dedication put into putting Daedelus spinners together really makes a huge difference in the long run, even when spinning on it it is all about the nuances and finer details.
During my first few sessions with Rebecca Giles, Evanita, and Suzy, we took a look at my single ply spinning techniques. To be quite honest, I have become quite comfortable with my short-forward drafting techniques when it comes to spinning single plys, so it was just a matter of making sure I could keep my drafting consistent. I did learn how to have more control over the colors in the yarns that I would spin up by separating and batching my top into different color groups. For example, I had some top that was red and blue, with some black in between. I divided up my top into a red batch and a blue (and black) batch, spinning them up into singles separately. Before I would have just split the fiber into two equal batches and spun them up as is, letting the spinning dictate how the colors in the fibers would come out. This time, I felt like I had more control over the colors in the single plys and realized that there are tons of color combinations and configurations that I could do.
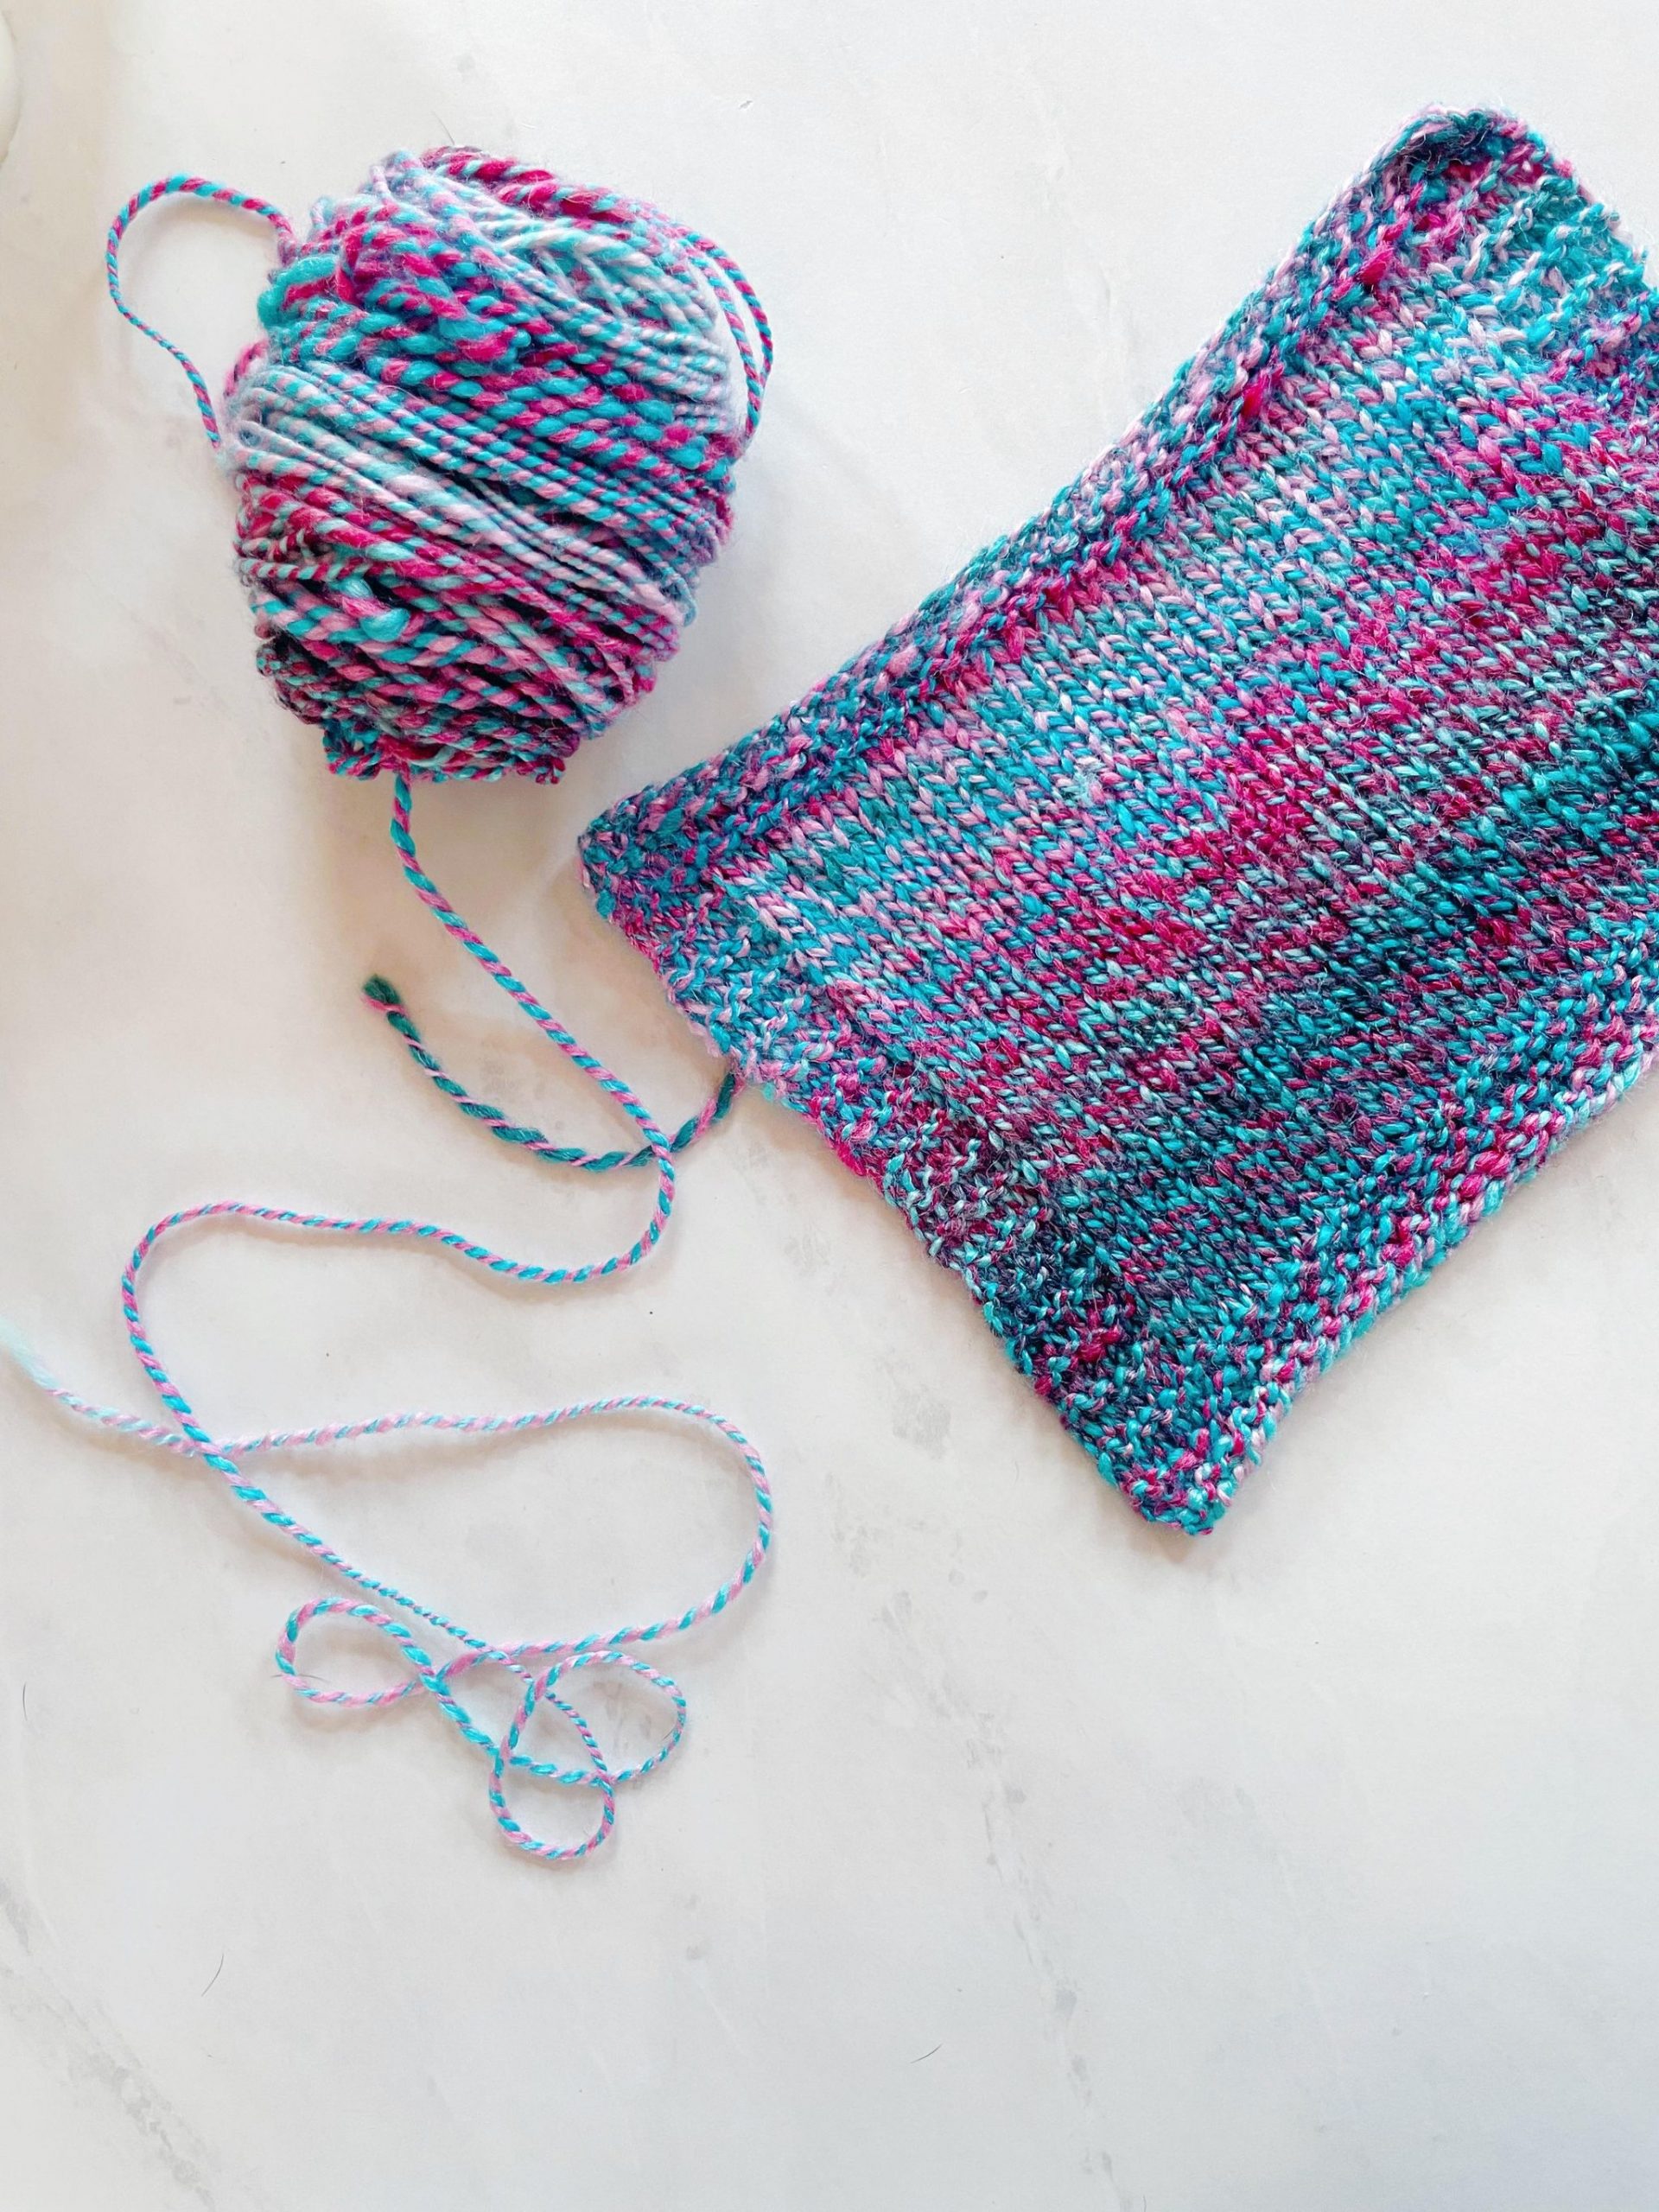
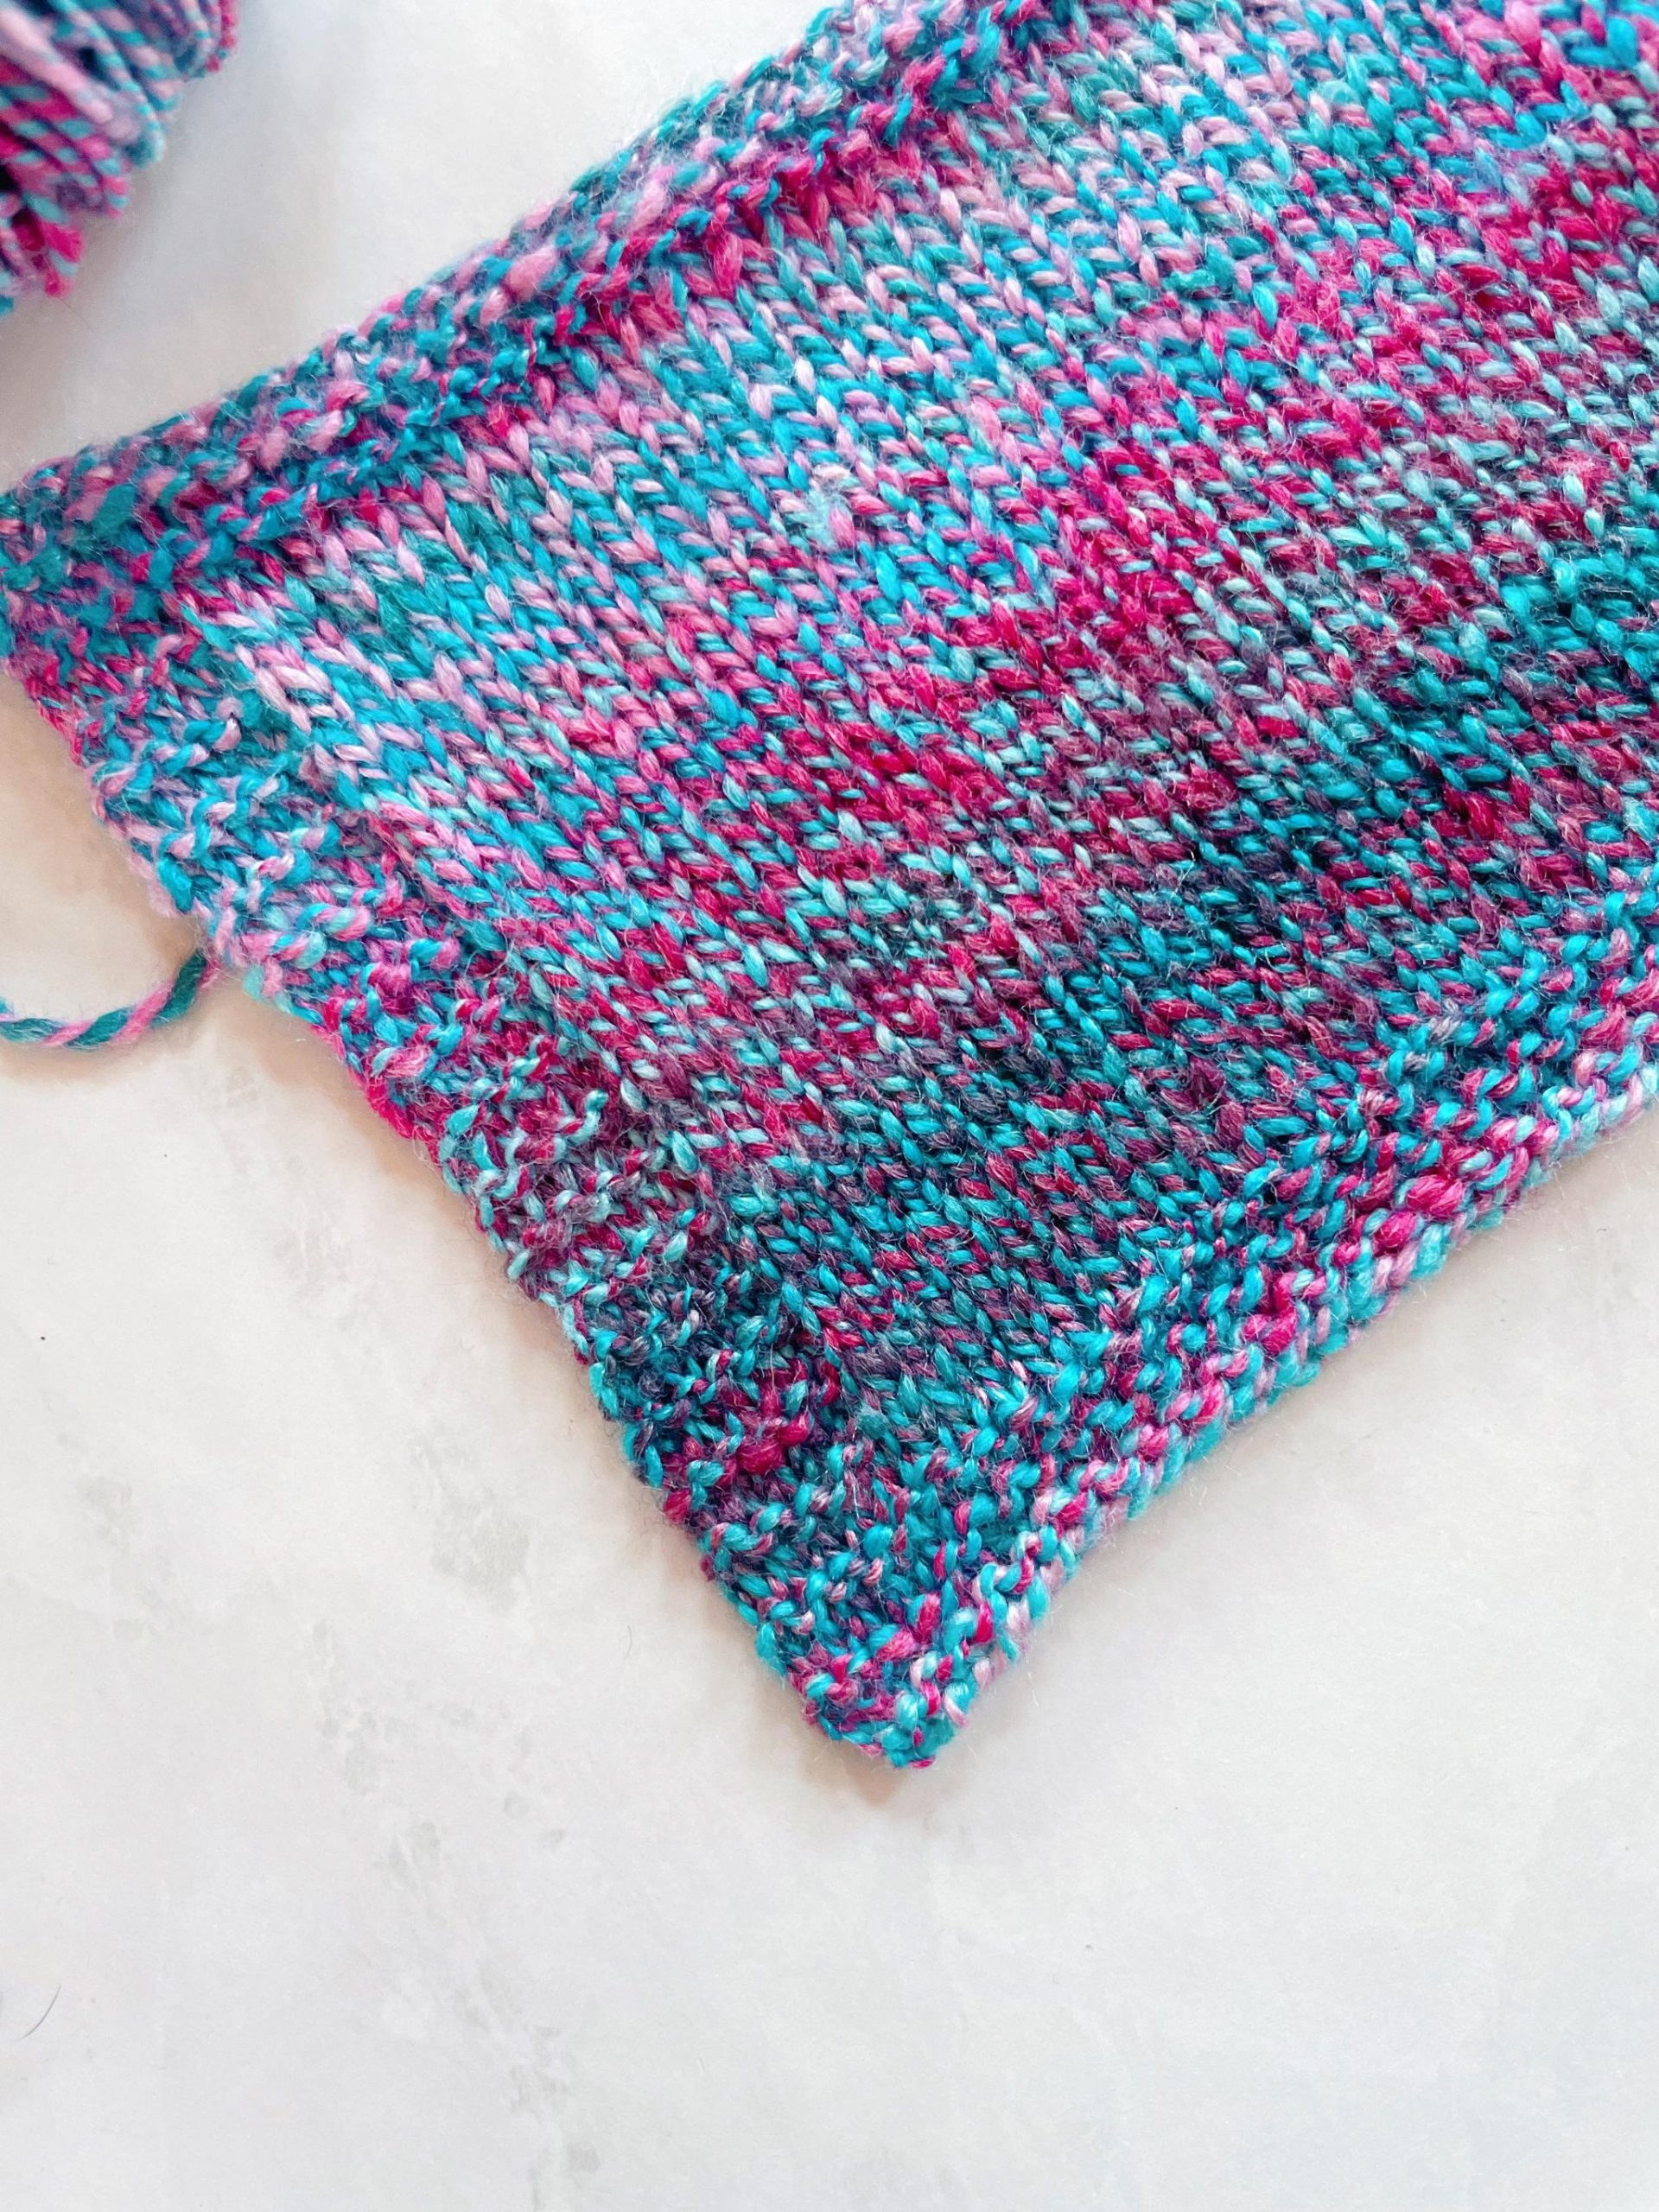
However, what got the biggest upgrade and made a HUGE difference in my spinning was the plying. I plied the same way as I spin my singles: short-forward draw. I was taught how to properly place my fingers and hands, making sure the twist didn’t enter the two singles being plied together until I wanted it too. This resulted in an even, consistent ply AND my plied yarn didn’t come out wirey and thin. I often over-plied my yarn and it became really thin and wire-like. This made all the difference in the final result of the yarn I spun, and it knits up wonderfully! I truly am chuffed with the final results of this spin. It looks like bubblegum, almost good enough to eat.
This apprenticeship is sponsored by
what a fun blog post to pop in and visit with Francois as she spins along on a Daedalus wheel with a talented group of spinning guidance ???
I really enjoyed this. Thank you
Hi could you please tell me how much the Daedalus wheel is please
Hi Charleen! You can find all the information and prices on the Daedalus website, and specifically for the Starling (the wheel that Fransciose is using) take a look at this page: https://www.daedalusspinningwheels.com/starling-v3
You really can’t go wrong with a Daedalus wheel, the engineering and construction is very high quality and customer service is fantastic 🙂
What fun to read Ana Brown’s recent post on Tiny Studio’s New Spinner Artist In Residence program sponsored by Daedalus.
Love her comparisons, and intrigue with the color batching and plying methods.
Happy Spinning,
Kristine